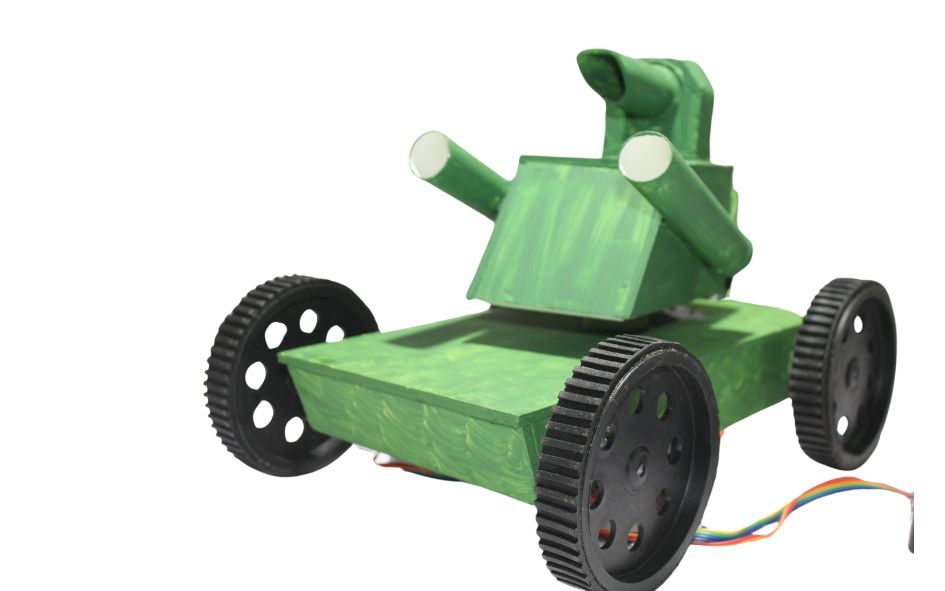
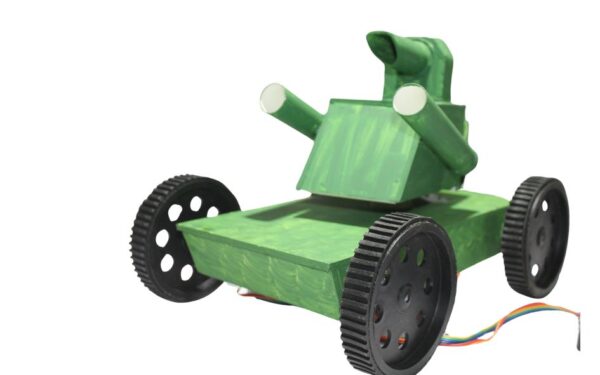
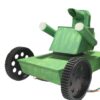
Military Robot working model
ROBOTIC LAB EQUIPMENT WORKING MODEL / ROBOTIC EXHIBITION WORKING MODEL / ROBOTIC WORKING MODEL
5 in stock
Refund
Unfortunately, once an order is placed, there is no refund available. However, we do offer exchanges for defective or damaged items.
Due to the nature of our products and the potential for misuse or mishandling, we do not offer refunds. We believe in customer satisfaction and strive to provide quality exchanges for any issues that may arise.
If you have received a defective or damaged item, please contact our customer service team and they will assist you with the exchange process. Please note that exchanges are subject to availability and product conditions.
We do not offer refunds for change of mind purchases, but we do offer exchanges for valid reasons such as defects or damages.
Delivery
My Science Kart delivers orders through a reliable and efficient shipping service to ensure your products arrive safely and on time.
Yes, you can easily track your order from My Science Kart by using the tracking number provided to you once your order has been shipped.
If you have any issues with your order from My Science Kart, please contact our customer service team who will be happy to assist you and resolve any problems.
Payment
You can pay for your purchases on My Science Kart using various payment methods such as credit/debit cards, net banking, UPI’s and mobile wallets.
Yes, we use industry-standard encryption technology to protect your payment information and ensure that it is secure.
If you have any payment-related queries or issues on My Science Kart, you can contact our customer support team through the website or email us at support@mysciencekart.com.
Military Robot working model
Creating a simplified military robot model for students can be an exciting and educational project. Below is a step-by-step guide to building a basic military robot model suitable for student learning:
**Materials Needed:**
1. Cardboard or foam board
2. Motors and motor drivers
3. Wheels or tracks
4. Arduino or Raspberry Pi microcontroller
5. Ultrasonic sensors or infrared sensors
6. LEDs for lighting effects (optional)
7. Battery pack
8. Glue, tape, and basic tools
**Steps:**
**1. Design and Construct the Chassis:**
– Start by designing the chassis of the robot on cardboard or foam board. The chassis should be sturdy enough to hold the components and provide stability.
– Cut out the pieces according to the design and assemble them using glue or tape.
**2. Install the Motors and Wheels:**
– Attach the motors to the chassis using screws or adhesive.
– Mount the wheels or tracks onto the motors, ensuring they are aligned properly for movement.
**3. Add Electronics and Sensors:**
– Install the Arduino or Raspberry Pi microcontroller onto the chassis.
– Connect the motor drivers to the microcontroller to control the movement of the robot.
– Attach ultrasonic sensors or infrared sensors to the front of the robot for obstacle detection.
**4. Wiring and Connections:**
– Wire the motors, sensors, and other components to the microcontroller according to the circuit diagram.
– Use jumper wires and connectors to make secure connections between components.
**5. Programming:**
– Write code to control the robot’s movement and sensor functions. Use Arduino IDE or Python for Raspberry Pi.
– Implement algorithms for obstacle avoidance, navigation, and other desired behaviors.
– Include functions to activate LEDs for lighting effects to simulate a military robot.
**6. Testing and Troubleshooting:**
– Test the robot in a controlled environment to ensure that all components are functioning correctly.
– Troubleshoot any issues with movement, sensor readings, or programming logic.
– Make necessary adjustments to the code or hardware to improve performance.
**7. Optional Enhancements:**
– Add additional features such as a rotating turret or manipulator arm using servo motors.
– Incorporate sound effects or voice commands using a speaker or microphone module.
– Customize the appearance of the robot with camouflage paint or decals to simulate a military aesthetic.
**8. Demonstration and Presentation:**
– Showcase the completed robot model to students, teachers, or parents.
– Explain the design and functionality of the robot, highlighting the STEM principles involved in its construction.
– Demonstrate how the robot moves, detects obstacles, and responds to its environment.
Building a military robot model provides students with hands-on experience in robotics, electronics, and programming, fostering creativity, problem-solving skills, and STEM literacy. It also offers an opportunity for interdisciplinary learning and collaboration in a fun and engaging way.
Advanced Tactical Support
Enhanced Security and Operational Efficiency Equip your forces with the Military Robot Working Model, a sophisticated tool designed to support and enhance military operations. This robotic assistant is ideal for reconnaissance, surveillance, and even hazardous material detection or disposal. With its robust design and advanced sensory technology, it operates in diverse environments to provide real-time data, significantly reducing troop risks and increasing mission success rates.
State-of-the-Art Surveillance Capabilities
Reliable Intelligence Gathering The Military Robot includes thermal imaging and night vision capabilities, allowing it to operate under any conditions, day or night. Its high-resolution cameras and sensitive microphones can detect and record even the slightest noises or movements, making it an invaluable asset for gathering intelligence and ensuring troops have the upper hand in tactical situations.
Why Deploy Our Military Robot?
A New Era of Defense Technology Choosing the Military Robot Working Model means embracing modern warfare technology that saves lives and secures assets. Its autonomous navigation systems and ability to handle various terrains make it perfect for scouting and patrolling without putting soldiers at risk. This robot is not just a tool but a revolutionary step forward in military strategy and efficiency.
| Weight | 1.5 kg |
|---|---|
| Dimensions | 40 × 20 × 30 cm |
You must be logged in to post a review.
Q & A
Related Products
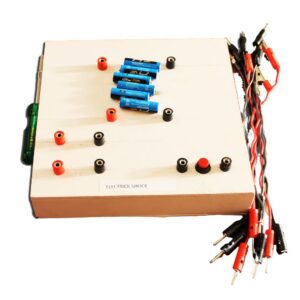
ELECTRIC SHOCK WORKING MODEL
- ✓ 100% Quality products
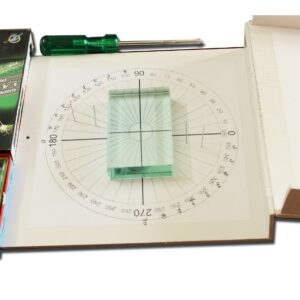
REFRACTION THROUGH GLASS SLAB AND REFRACTIVE INDEX OF THE GLASS SLAB WORKING MODEL
- ✓ 100% Quality products
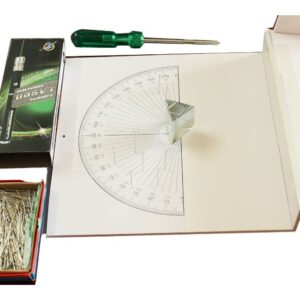
REFRACTIVE INDEX OF THE PRISAM WORKING MODEL
- ✓ 100% Quality products
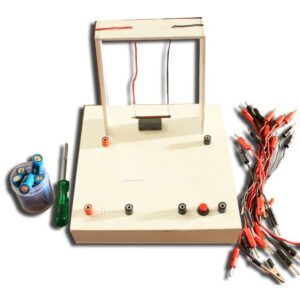
RIGHT HAND RULE - 2 WORKING MODEL
- ✓ 100% Quality products
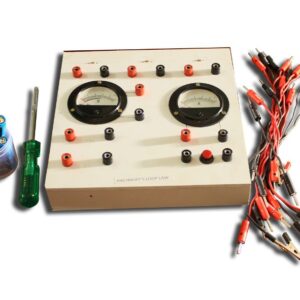
KIRCHHOFF'S LOOP LAW WORKING MODEL
- ✓ 100% Quality products
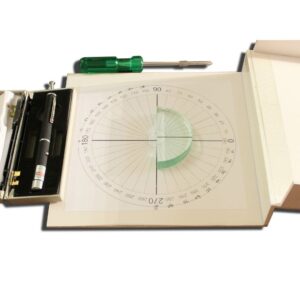
THE RELATION BETWEEN ANGLE OF INCIDENCE AND AND ANGLE OF REFRACTION WORKING MODEL
- ✓ 100% Quality products
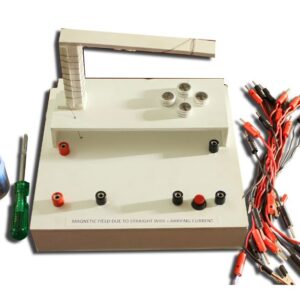
MAGNETIC FIELD DUE TO STRAIGHT WIRE CARRYING CURRENT WORKING MODEL
- ✓ 100% Quality products
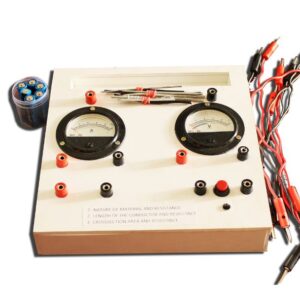
a. NATURE OF MATERIAL AND RESISTANCE b. LENGTH OF CONDUCTOR AND RESISTANCE c. CROSS SECTION AREA AND RESISTANCE WORKING MODEL
- ✓ 100% Quality products
Product categories
- Circuits & Projects 233
- My Science Kart 665
- Raw Materials For Projects & Lab Equipments 381
- Science Exhibition 516
- Science Exhibition Projects & Working Models 344
- Biology Science Exhibition Projects & Working Models 31
- Chemistry Science Exhibition Projects & Working Models 12
- Mathematics Science Exhibition projects & Working Models 7
- Physics Science Exhibition Projects & Working Models 129
- Robotics Science Exhibition Projects & Working Models 23
- Social Science Exhibition Projects & Working Models 20
- Science Lab Equipments With Working Models 363
Cart
TRULY INDIAN EDUCATION BRAND
Over 10,000+ Happy Customers
My Science Kart
Address:- Ground floor, Lakshmi Nagar, D.No:- 40-1/1-5, PVP Mall Backside, Mogalrajapuram, Labbipet, Vijayawada, Andhra Pradesh 520010
7673977997, 0866-3543677
mysciencekart@gmail.com
Categories
MAP
© My Science Kart 2024, Designed & Developed By Synfocy Tech Solutions


Reviews
There are no reviews yet